"Circle Text" is to arrange the characters in the text according to a circular or arc path. It is essentially a special case of "Text On Path", that is, the path is a circle or an arc. In business card design, the company's brand logo is usually included, and the text contained in it is often presented in the form of an arc. It looks very creative and deepens the impression of the brand in the minds of customers.
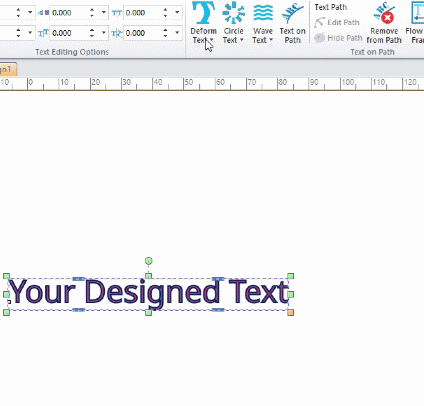
If you haven't created text yet, you need to use the Text tool provided by Business Card Designer Pro to create a text object. If the text is not selected, remember to use the Selection Tool to select the text object. It should be noted that Business Card Designer Pro only supports the arcing operation of one text object at a time, so be sure to select only one text object. In addition, if the text object is already on another path, please click the "Remove from Path" toolbar button to detach the text object and then perform this operation.
After clicking the "Circle Text" toolbar button, you can see 16 preset arc paths in the pop-up drop-down box. Among them, they are divided into four categories according to the directions of up, down, left and right. In each category, four cases of central angle 45°, 90°, 135°, and 180° are taken respectively. Move the mouse over a preset item in the list box, and you will preview the text characters arranged according to a predetermined path on the canvas. If a certain style better meets your design needs, just click on the preset item with the mouse.
If the preset arc style does not meet your needs, click the "Custom" button below to enter the customization process. In the customized dialog box, almost all options are available. During the process of setting variables, you can preview what the text will look like after the change. Once you have the optimal settings, click the "OK" button to confirm.

|

|
Tip: Finally, it should be noted that when the text is arranged along an arc curve, some characters overlap each other in places with relatively large curvature. At this time, you may need to adjust the spacing between characters according to the actual situation.