
EximiousSoft Logo Designer
Easily create and edit professional-looking logos or other business graphics.
$39.95
No watermark of string "Unregistered" when your designed banners or individual frames
are saved to image by using the registered version.
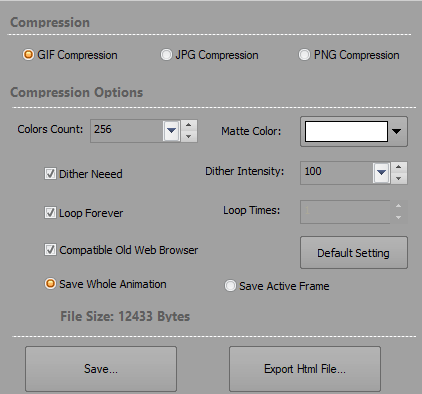
Yes, it is 100% sure. Banner maker has powerful ability for optimization GIF animations.
It can produce the animated GIF images with a minimum file size but there is no
loss of quality. Open the banner animation or EBM project you want, then go to workspace,
open "Preview" view to do visual optimization.
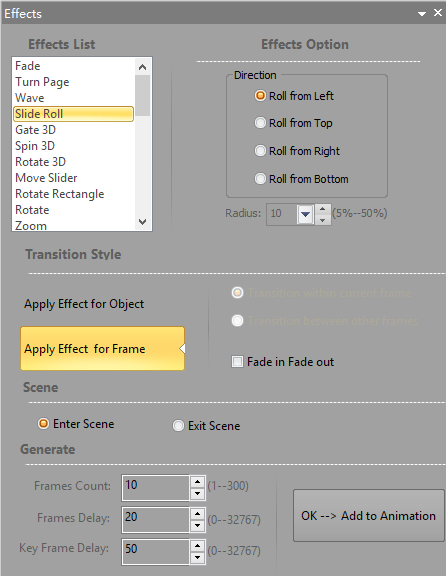
Launch Banner Maker program, open the animation or EBM project you want, and then
go to workspace, open "Effects" view to prview the vivid animations which are produced
by transition effects.
Yes, it is 100% sure. EximiousSoft Banner Maker always makes the GIF Banner image
size minimum while maintaining the animation's quality.
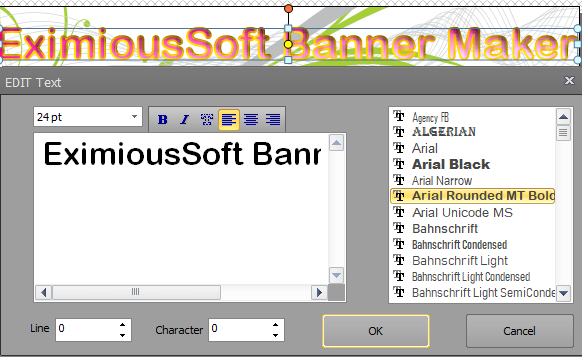
Banner Maker provides two ways to help you to edit texts.
The multiple objects are allowed to be selected at the same time in Banner Maker.The
standard Windows multiple-selection shortcuts of Ctrl+click and Shift+click is supported
by the program. Two ways are offered for selecting objects.
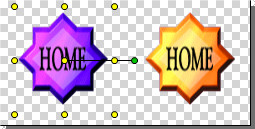
In Edit View, each visible object is shown as it should be. When an object is selected,
the handles for rotation and resize the object are shown around it, but none for
the unselected one.for example, see following screenshot,The left object is selected,
but right one is not.
Multiple frames are allowed to be selected at the same time. use the standard Windows multiple-selection shortcuts of Ctrl+Click and Shift+Click.
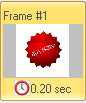
When a frame is selected, it is shown with highlighted in Frames List. For example, see the following screenshot. The frame #1 is selected, but frame #2 is not.
|

|
If you want to save specified frame in an animation to JPG, GIF, PNG etc. image
files, at first, It need you to click the frame on Frames List
to select it as active. Then choose "Save as Image..." menu item
from main menu bar, then choose a sub-menu item according to saved image format.
Related FAQ:
How to select one or more frames at a same time?
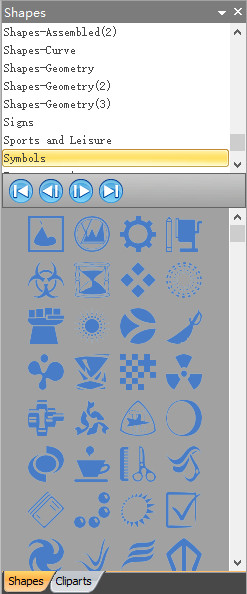
Go to "Shapes" View. If it is not visible, If not, switch to "View"
category and make the check box which named Shapes List is selected.
Then choose a suitable shape classification from the list. Find a shape which you
want to add, click on it to select and then keep left mouse button is down, then
drag it into workspace. Also Double Click on this shape for adding
it to workspace directly and it will be centered in Edit View.
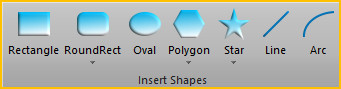
Banner Maker offers Custom Shape Tool to draw your own shapes.
Open "Drawing" category from main ribbon bar, and then click "Custom
Shape Tool" tool button.
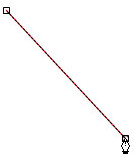
Position the Custom Shape Tool where you want the segment to begin:

|
|
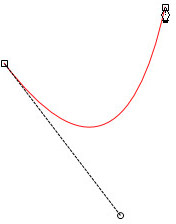
|
| Positioning Custom Shape Tool | Dragging the direction line | Released mouse button and moving to next point position |
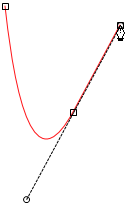
|
|
|
| Starting to drag second smooth point | Dragging away from previous direction line, creating a C curve | Dragging in same direction as previous direction line, creating an S curve |
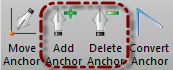
Adding anchor points can give you more control over a path, or it can extend an
open path. However, it is a good idea not to add more points than necessary. A path
with fewer points is easier to edit, display, and print. You can reduce the complexity
of a path by deleting unnecessary points.
|
|
| Move straight segment | Move straight segment |

|
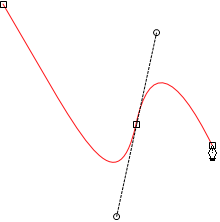
|
| Adjust direction hold Shift key | Adjust direction point generally |
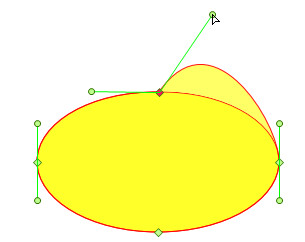
You can edit a path segment at any time, but editing existing segments is slightly
different from drawing them. Keep the following tips in mind when editing segments:
If an anchor point connects two segments, moving that anchor point always changes
both segments.
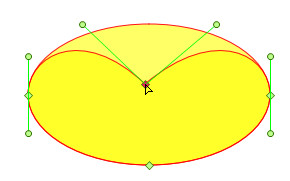
With the Move Anchor Tool, select a curved segment, or an anchor point on either
end of the curved segment. Direction lines appear or if any are present, do any
of the following:
Easily create and edit professional-looking logos or other business graphics.
Produce high quality and impressive banner ads. web buttons and headers etc. web graphics.